Code and frameworks
Add TailGPT to React
About five minutes. You add one line to your app’s HTML page, then build and deploy.
Before you start
Step 1: Copy your code
Your code is on your chatbot's page in the TailGPT dashboard: open Chatbots, choose your chatbot, and find the Code box. Click Copy code. Until you have a plan the code is blurred, with Subscribe beside it.
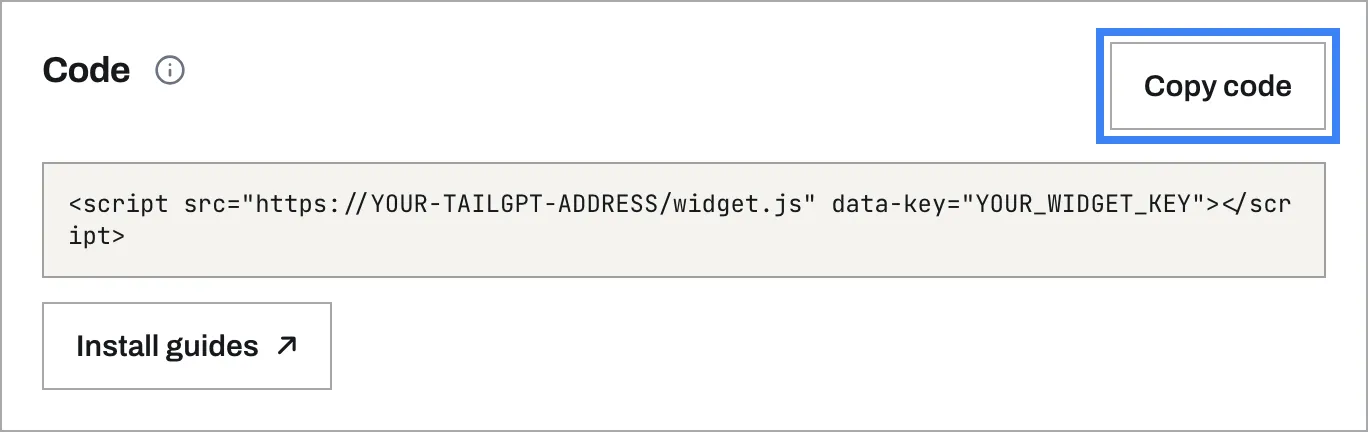
It looks like this, with your own key where this one says YOUR_WIDGET_KEY:
<script src="https://app-tailgpt.tailwebs.com/widget.js" data-key="YOUR_WIDGET_KEY"></script>Copy yours from the dashboard - this example will not work on your site.
Step 2: Open your app’s HTML page
Every React app has one HTML page that loads it. Open it:
- Vite:
index.html, in the project’s root folder. - Create React App:
public/index.html.
Step 3: Paste your code above the closing body tag
Put your code on its own line, just above </body>:
    <div id="root"></div>
    <script src="https://YOUR-TAILGPT-ADDRESS/widget.js" data-key="YOUR_WIDGET_KEY"></script>
  </body>
</html>
Paste it as it is. It is HTML, not JSX, so data-key stays exactly as written.
Step 4: Build and deploy
Build your app (npm run build) and deploy it the way you usually do. The chatbot appears once the new build is live.
Single-page apps
Add the code once, in the page every route shares - never inside a page or route component. TailGPT checks that it is not already running before it starts, and the chat bubble stays on screen as visitors move between pages, so once is all it needs.
Check it works
- Open your website in a private (incognito) window. A logged-in admin view and a cached page can both hide a change.
- Wait a few seconds for the chat bubble in the corner of the page.
- Ask it a question your website answers.
- In the TailGPT dashboard, open Chatbots. Once the bubble has loaded on a page of your website, your chatbot shows Live.
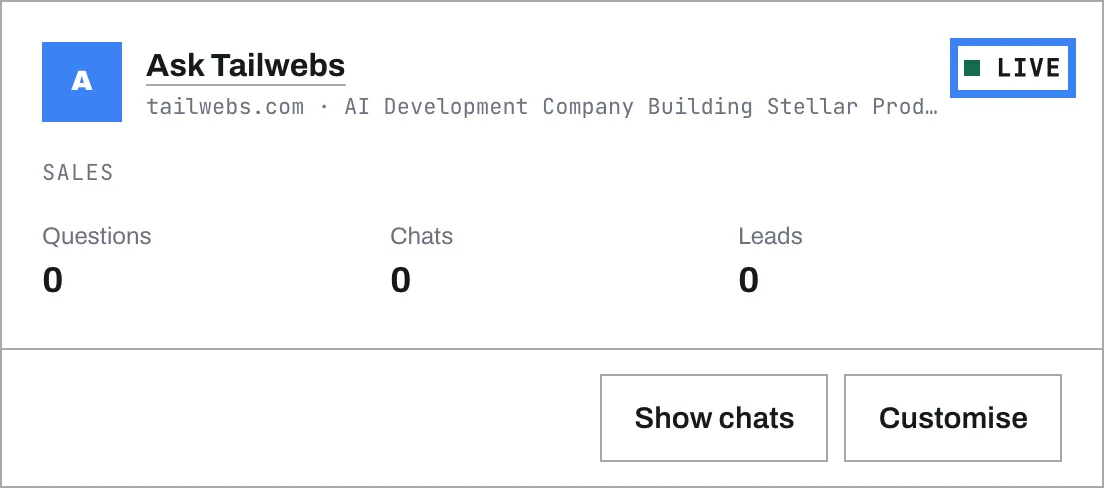
No bubble? Troubleshooting covers the usual reasons.
Stuck?
Start with Troubleshooting. Still stuck? Write to [email protected] with your website's address and the platform it is built on.
Where these steps come from