Getting started
Set up TailGPT in five steps
Sign up and confirm your email address. You then land on Overview, which lists the same five steps as this page and ticks each one off as you finish it. Until you are done, a Next step bar on every page says what to do next, with a button that takes you there. On a computer it sits at the bottom of the screen; on a phone, at the top.
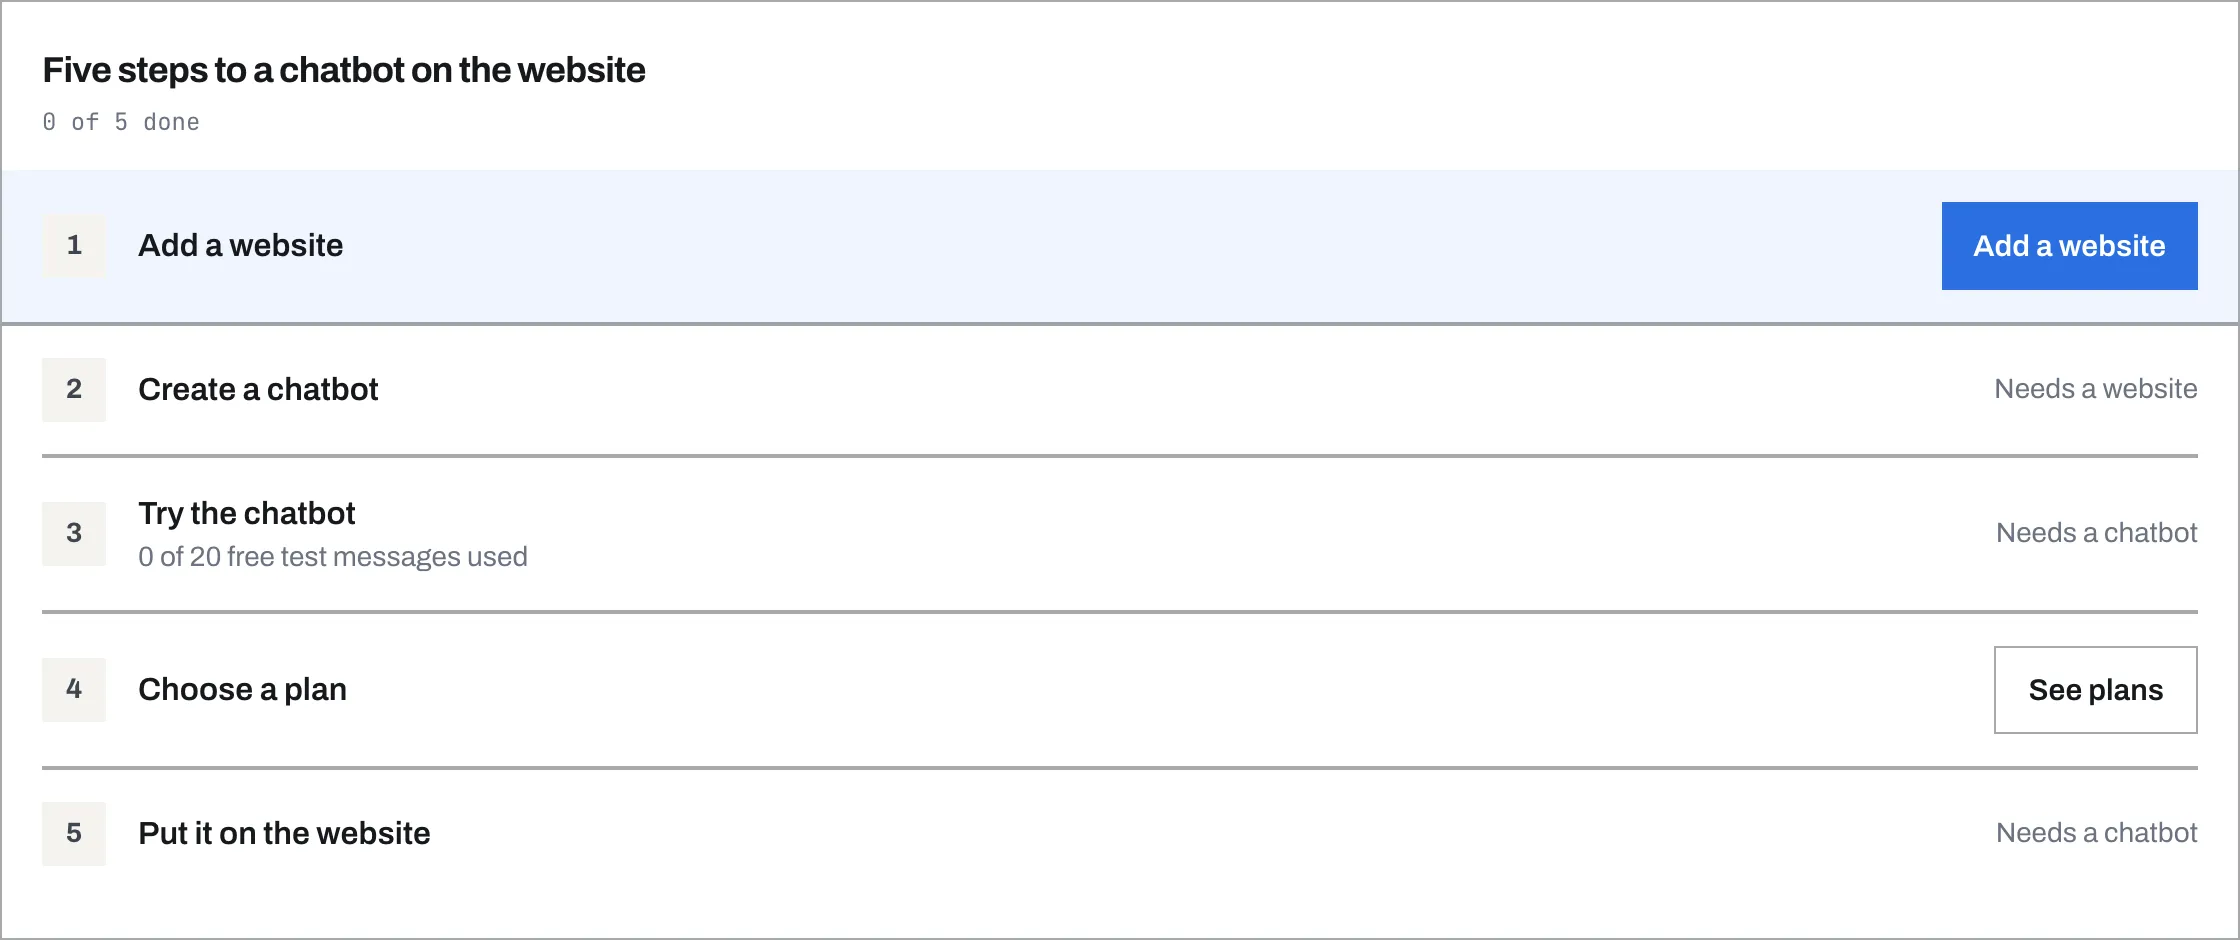
You can try TailGPT free, without a card. The free preview gives you one website, up to 500 of its pages, one chatbot and 20 test messages. That is enough to see real answers from your own pages before you pay.
Step 1: Add a website
- Click Add a website on the next-step bar, or open Websites and click Add a website.
- Type your website’s address into Website address - for example
example.in- and click Add.

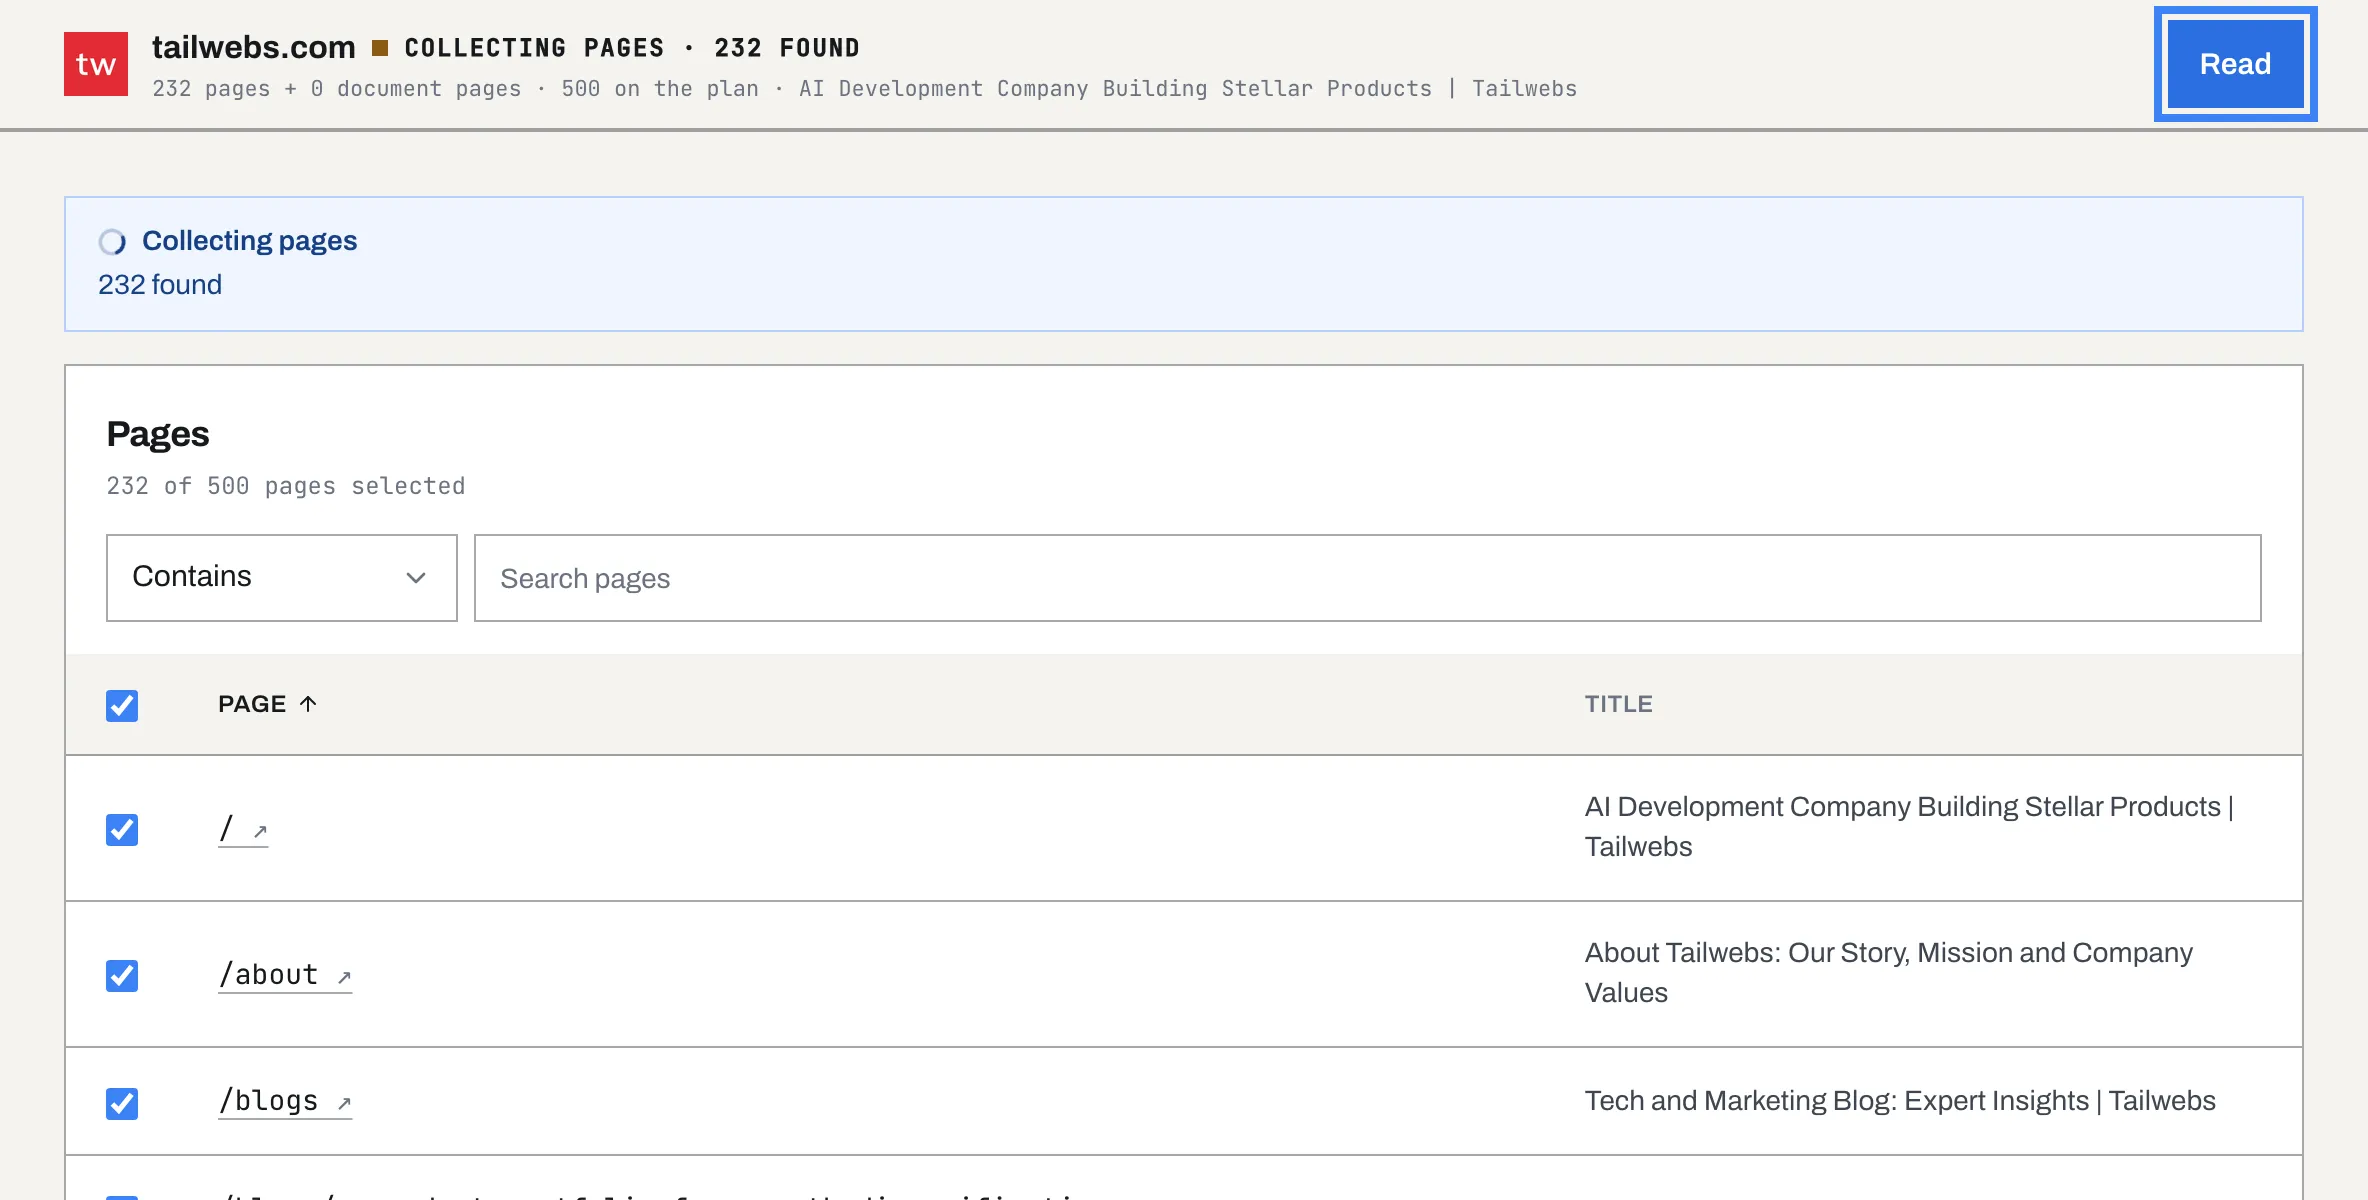
- TailGPT starts finding the pages of your website. The page says Checking for pages the sitemap missed with the number found so far, and every page it finds is ticked. Choose the pages to read says what to do next: untick the pages the chatbot should not answer from, then press Read.
- Untick the pages your customers never ask about, such as old blog posts. Choosing pages shows how to untick a whole group in one click.
- Click Read, top right. You do not have to wait for Checking for pages the sitemap missed to finish: pages it finds later wait for you under New pages.
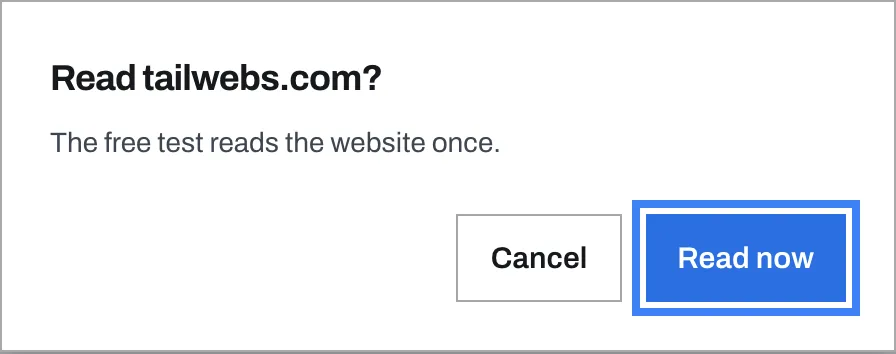
- On the free preview, TailGPT asks you to confirm first, because the free preview reads a website once. Click Read now.
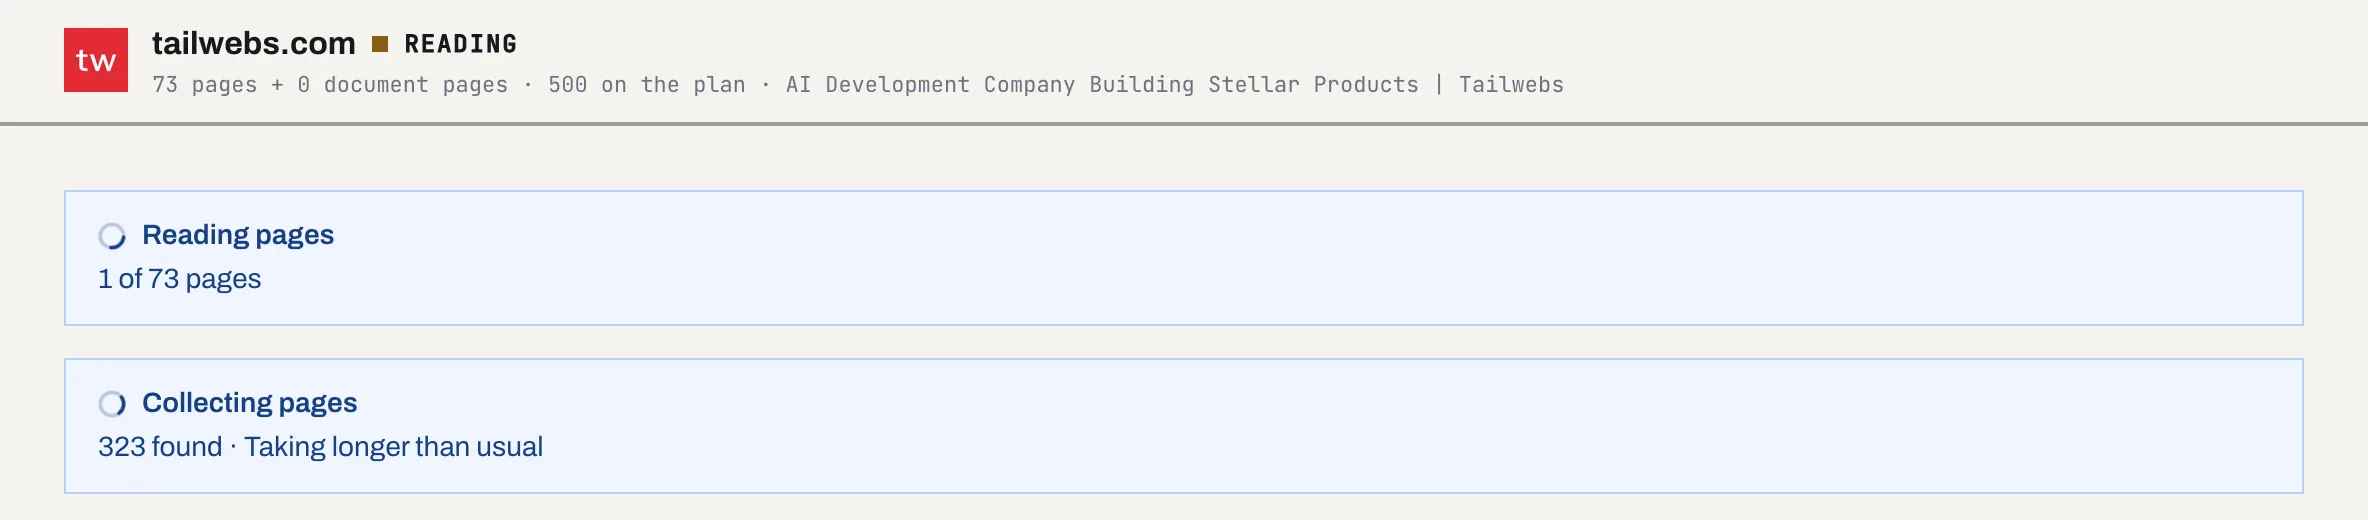
Reading takes a few minutes, or longer for a big website. The page shows how far it has got - for example, “1 of 73 pages”. You can close the tab and come back later.
When it is done, check the Business name box on the website’s page. It is the name your chatbot uses for your business - for example, “I’m the AI assistant for Sunrise Dental”. TailGPT takes it from your home page. If it is wrong, click Edit, type the right name and click Save.

Step 2: Create a chatbot
- Click Add a chatbot on the next-step bar - the website you just read is already chosen - or open Chatbots and click Add a chatbot.
- On the first tab, Name and look, type a Name. If you have one website, it is already chosen under Website. Here you can also write the Greeting visitors see first, pick a Colour, choose Where it sits on the page, and add a Logo. Click Next.
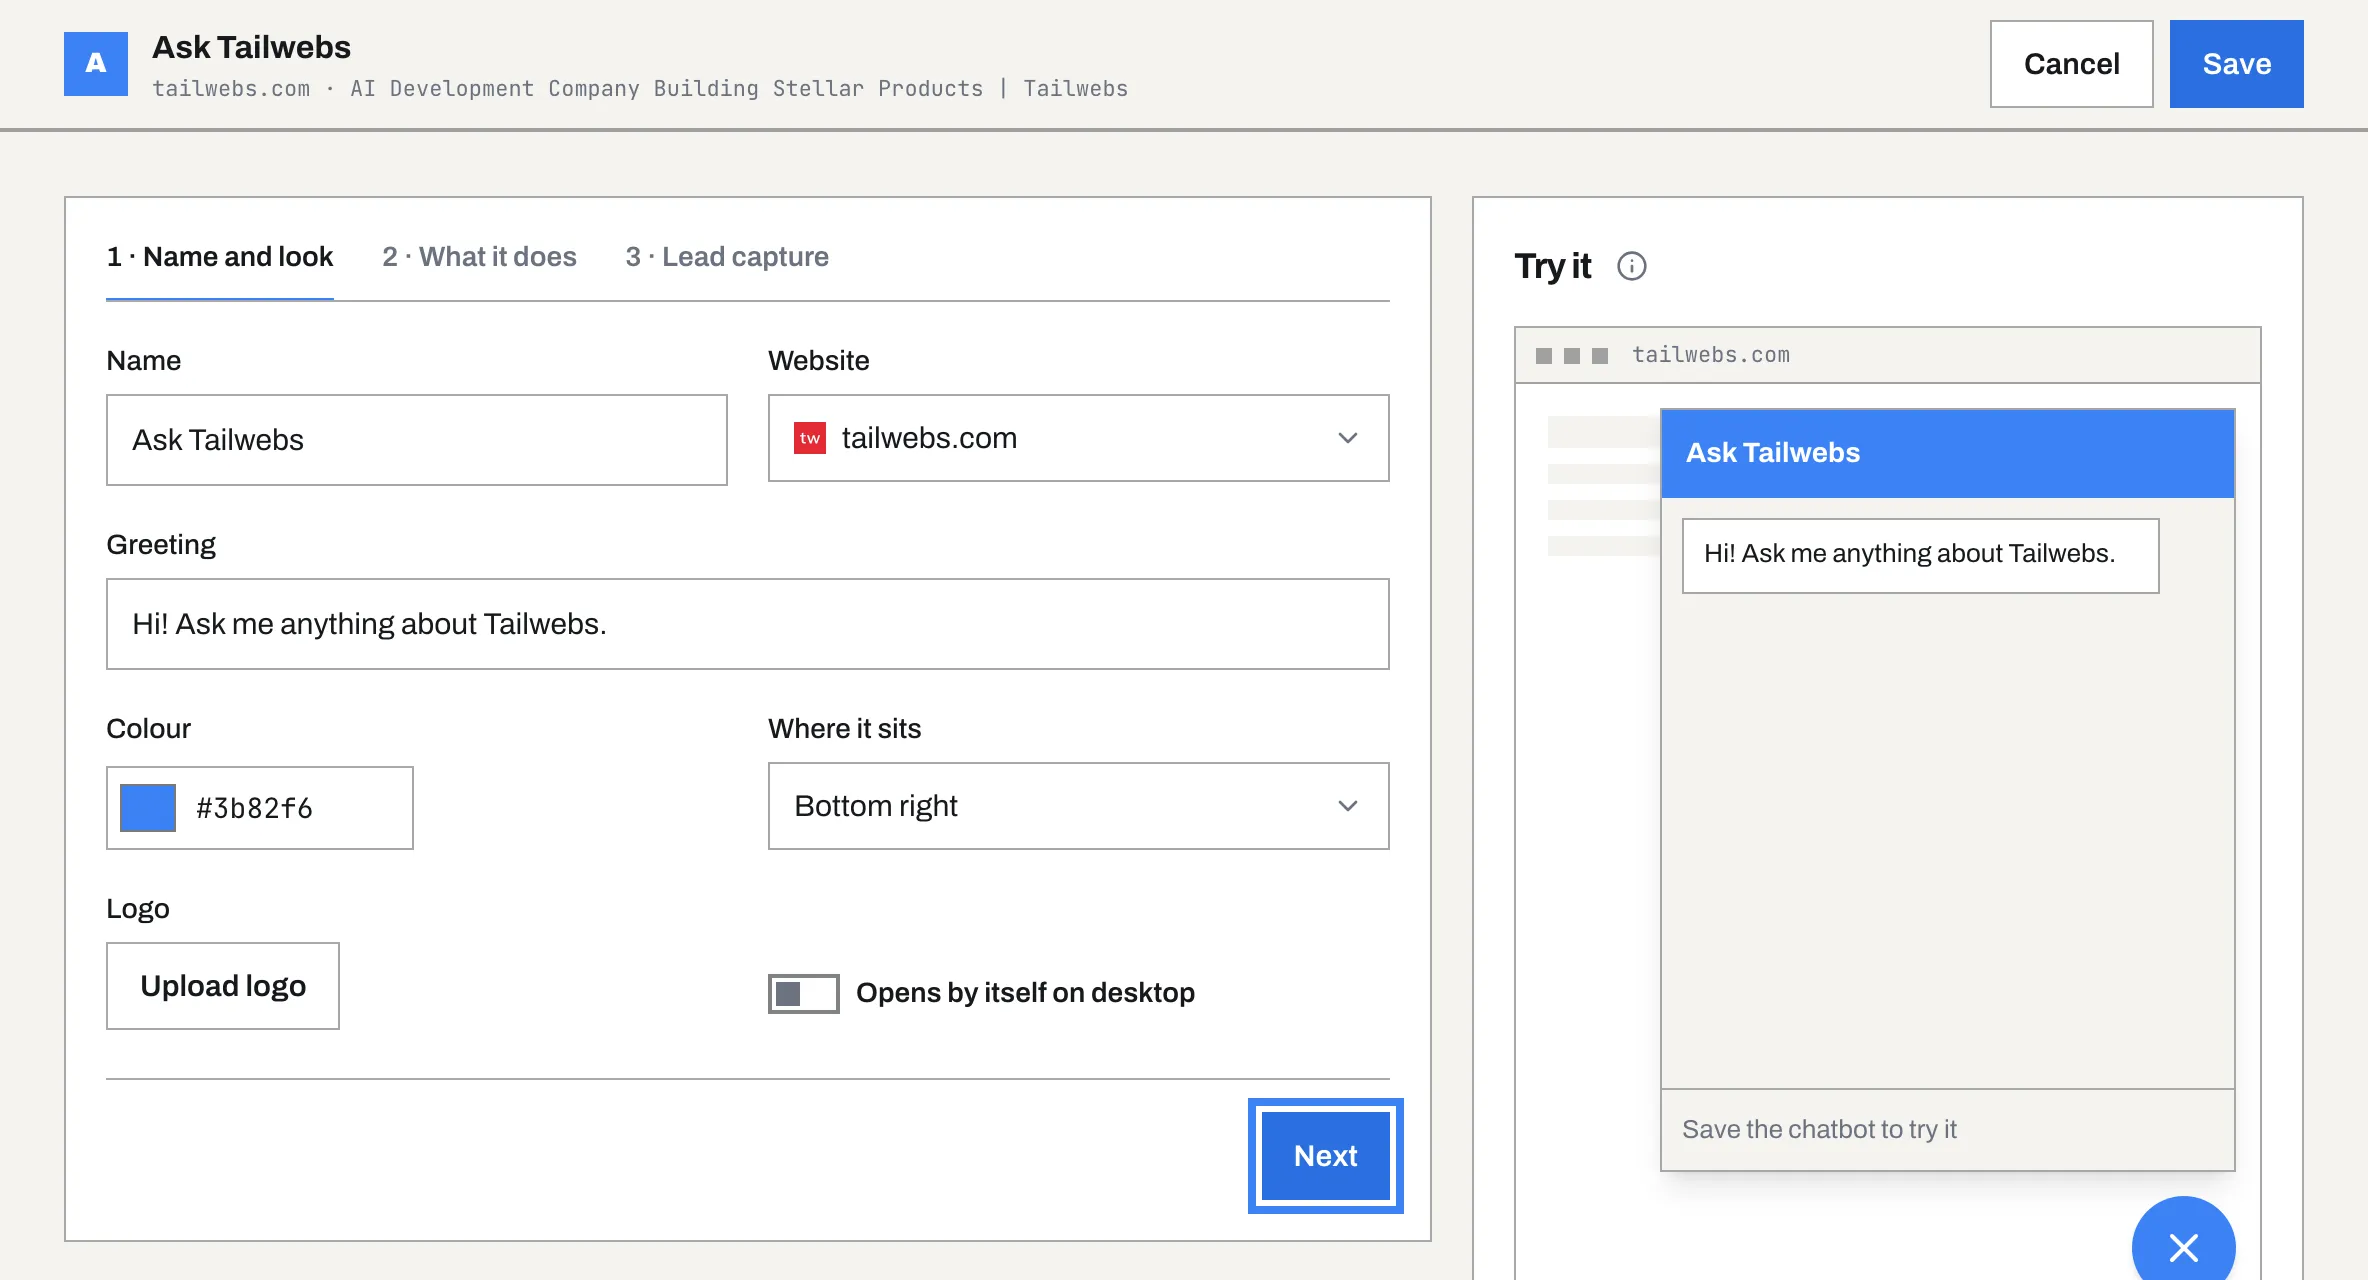
- On What it does, choose Support, Sales, FAQ or Custom. A new chatbot starts as Sales. What your chatbot does explains each one. Click Next.
- On Lead capture, choose whether the chatbot asks interested visitors for their name and contact details. It starts on for a Sales chatbot.
- Click Save chatbot, below the tab (or Save, top right). You land on the chatbot’s own page, which says Chatbot created, with the cursor already in its chat.
While you set it up, Try it on the right shows how the chatbot will look. Until you save it, it says Finish creating the chatbot to test it.
Step 3: Try the chatbot
On the chatbot’s page, the Try it box on the right is your chatbot’s chat, in its colours, with its greeting. Type in the box at the bottom and click Send. Ask the questions your customers actually ask. To get back to it later, open Chatbots and click Try it on your chatbot.
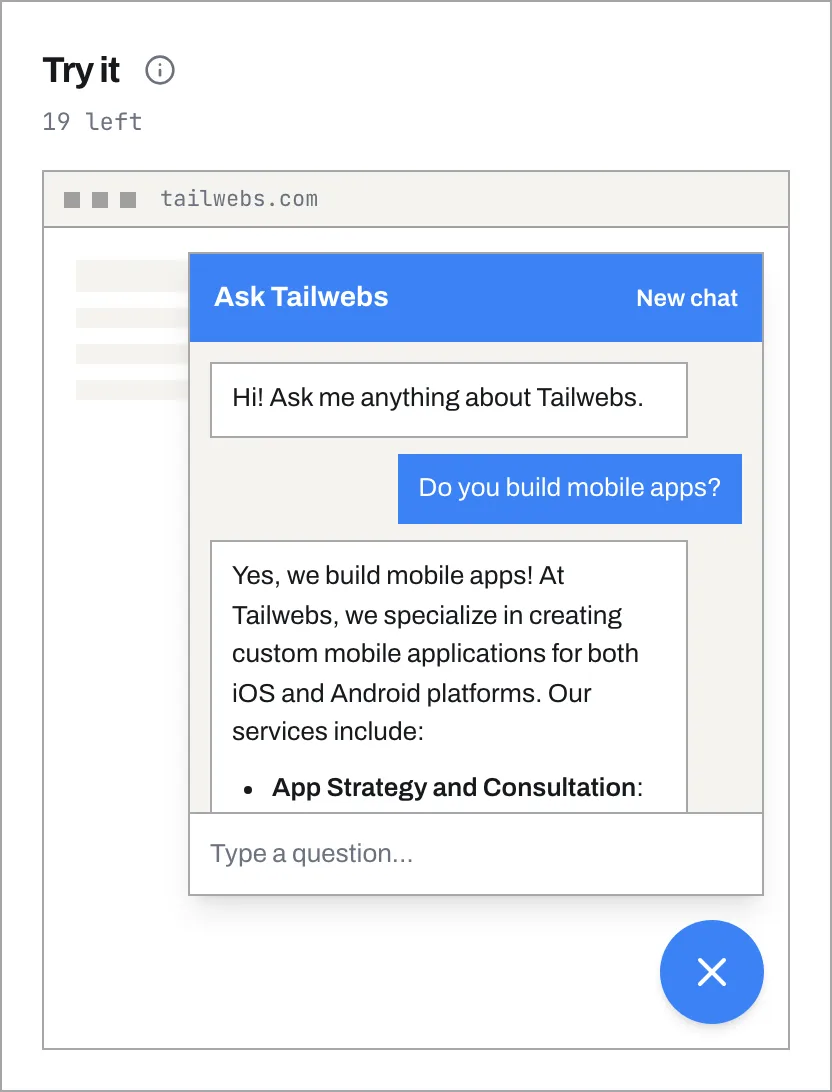
Each question uses one of your 20 free preview messages, and the box shows how many are left - so does the Free preview box at the bottom of the menu on the left. New chat starts a fresh conversation.
Step 4: Choose a plan
On the chatbot’s page, the Code box shows your chatbot’s code blurred, with Subscribe beside it. Click Subscribe and choose a plan. You can also click Choose a plan at the bottom of the menu on the left.
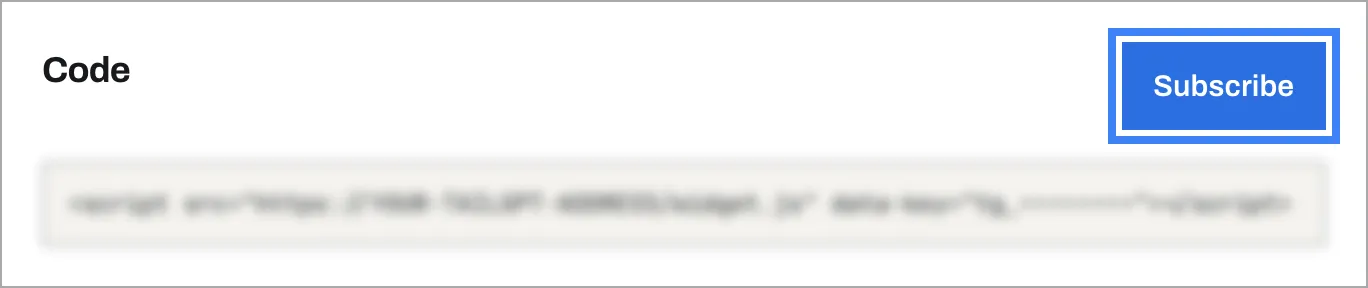
Once you have a plan, the code in the Code box is clear to read. It is one line.
Step 5: Put it on the website
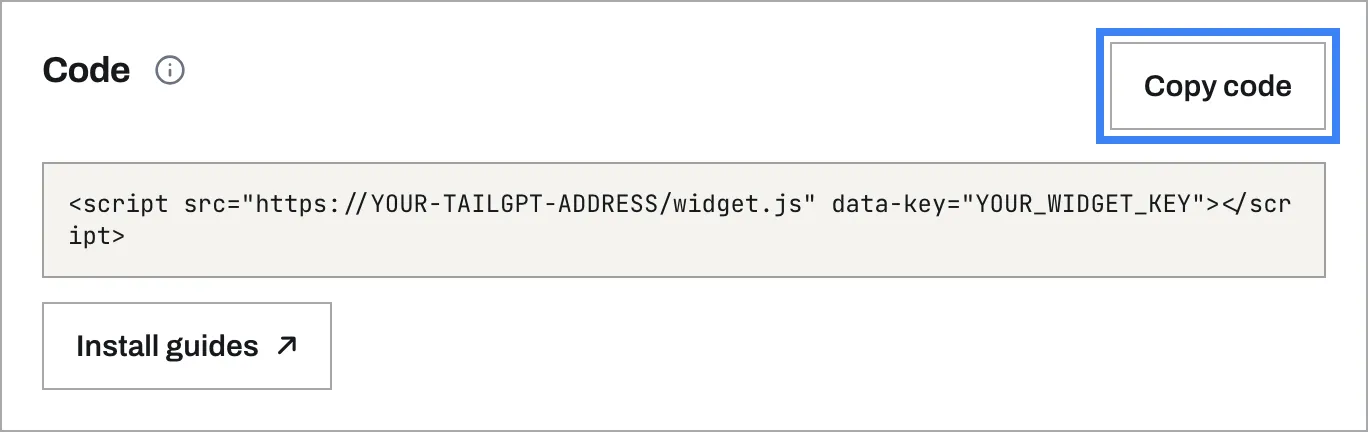
In the Code box, click Copy code, then paste it into your website. Install guides, under the code, opens the install guides, which show exactly where it goes on WordPress, Shopify, Wix, Squarespace, Webflow and more. There is no TailGPT plugin to install, and your visitors do not need an account.
Next
With a plan you can also give your chatbot what your website does not say - price lists, brochures, policies. See Documents.