Website builders
Add TailGPT to Blogger
About five minutes. You add one line to your blog’s theme.
Before you start
Step 1: Copy your code
Your code is on your chatbot's page in the TailGPT dashboard: open Chatbots, choose your chatbot, and find the Code box. Click Copy code. Until you have a plan the code is blurred, with Subscribe beside it.
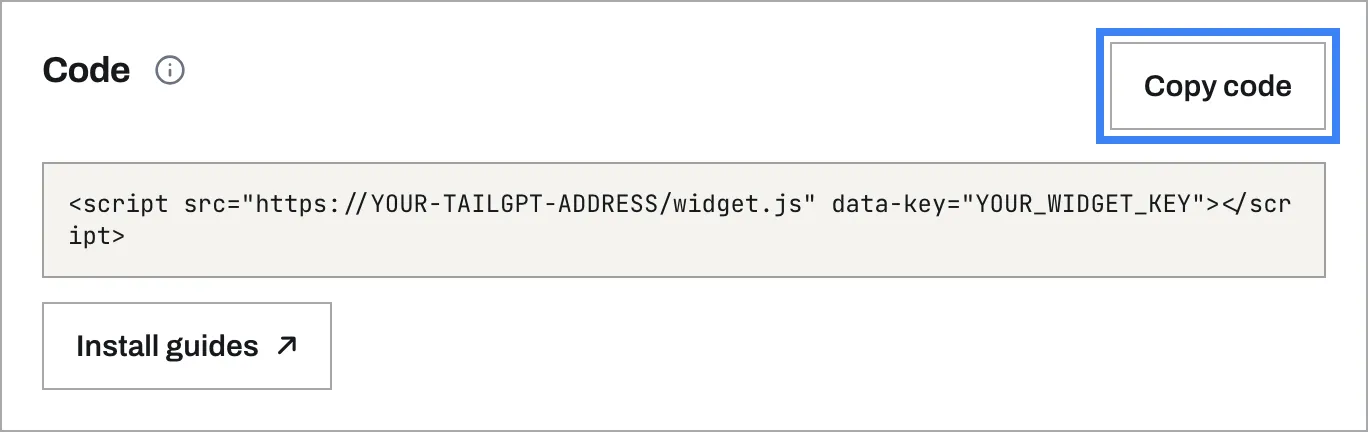
It looks like this, with your own key where this one says YOUR_WIDGET_KEY:
<script src="https://app-tailgpt.tailwebs.com/widget.js" data-key="YOUR_WIDGET_KEY"></script>Copy yours from the dashboard - this example will not work on your site.
Step 2: Open the theme HTML
Sign in to Blogger and choose your blog. Click Theme in the left menu. Under “My theme”, click the ▾ next to Customize, then Edit HTML.
Step 3: Paste your code above the closing body tag
Click anywhere in the code, press Ctrl+F (Cmd+F on a Mac) and search for </body>. Put your code on its own line, just above it.
Step 4: Save
Click Save (the disk icon, top right).
Check it works
- Open your website in a private (incognito) window. A logged-in admin view and a cached page can both hide a change.
- Wait a few seconds for the chat bubble in the corner of the page.
- Ask it a question your website answers.
- In the TailGPT dashboard, open Chatbots. Once the bubble has loaded on a page of your website, your chatbot shows Live.
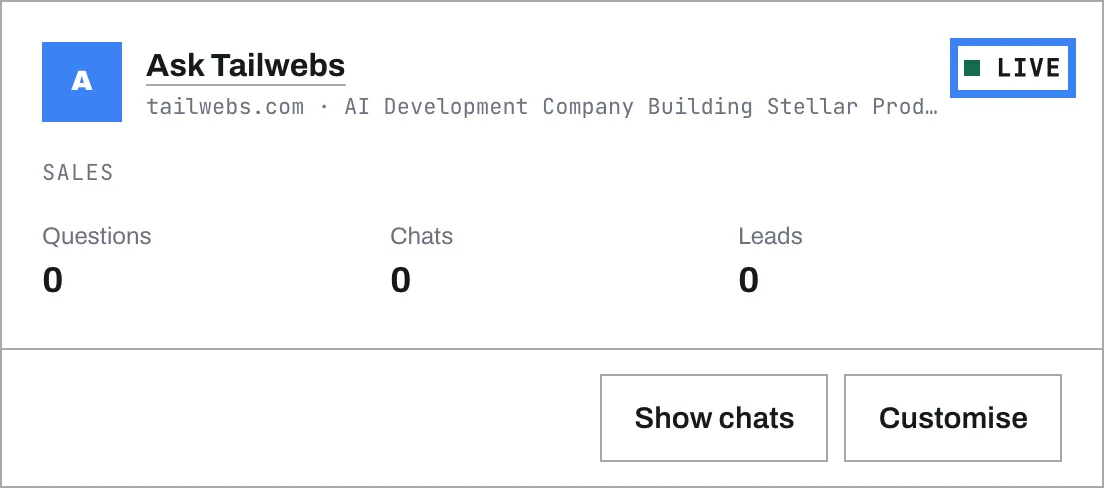
No bubble? Troubleshooting covers the usual reasons.
Stuck?
Start with Troubleshooting. Still stuck? Write to [email protected] with your website's address and the platform it is built on.
Where these steps come from