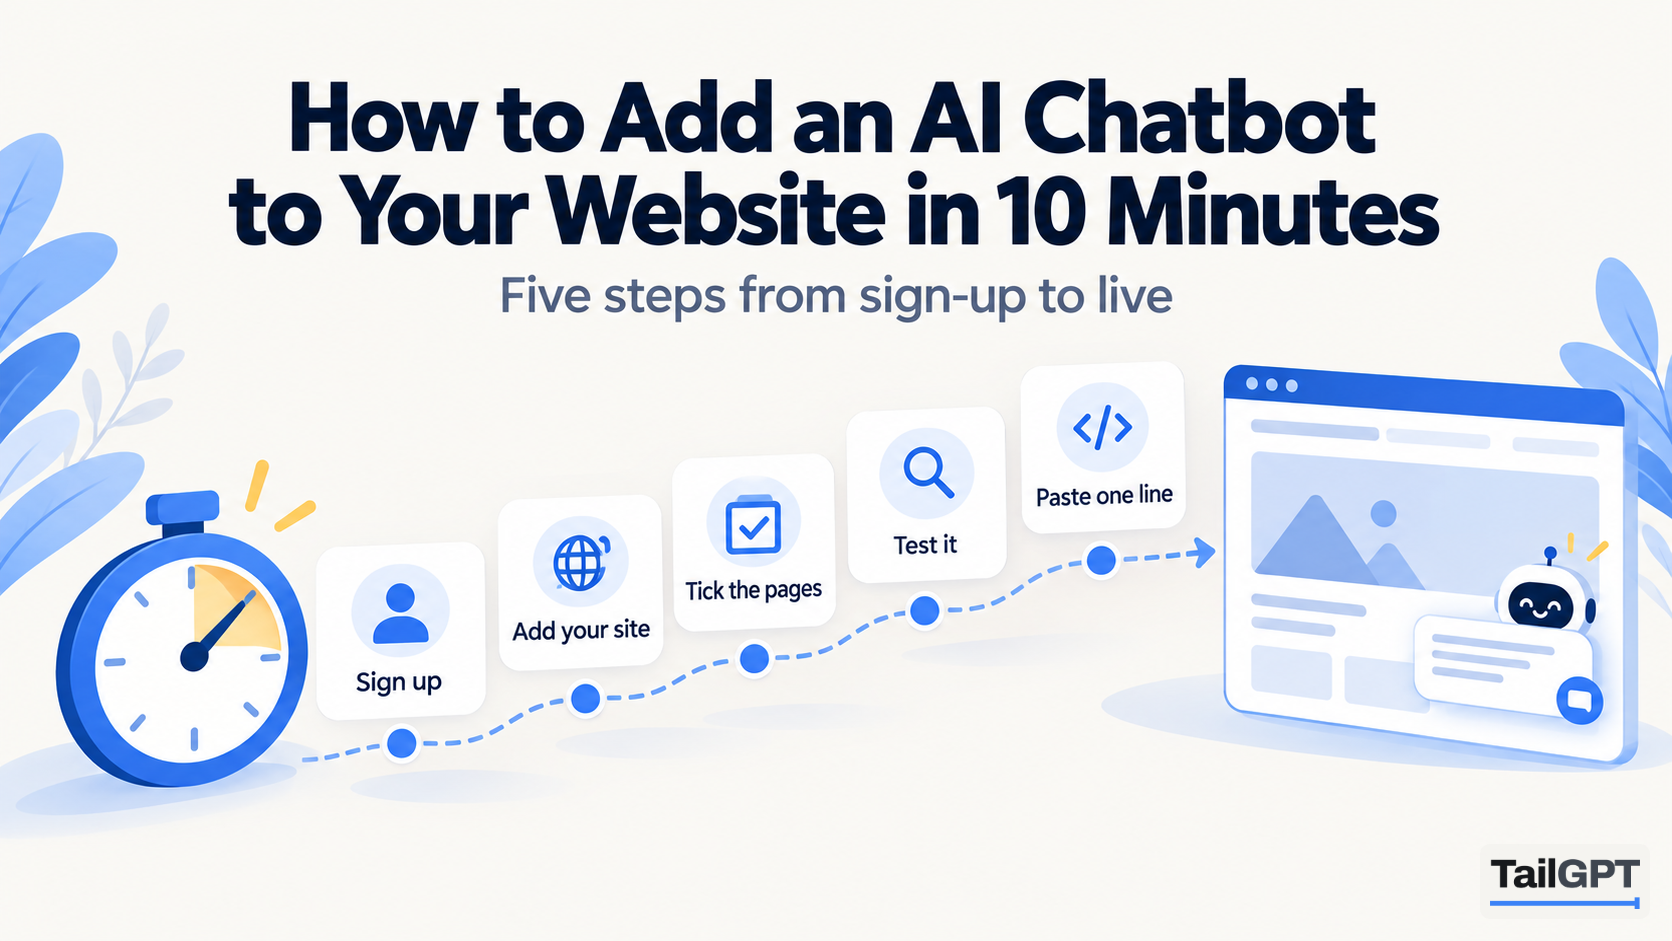
Adding an AI chatbot to a website used to mean a developer, a plugin and a week of back and forth. With TailGPT it is a sign-up, a few choices and one line of code pasted into your site. The whole path takes about ten minutes of your time. This guide walks it in order, says where the line goes on the common website builders, and is honest about the one part that is not yours to hurry: reading your pages.
TailGPT's prices below are as of 4 October 2026, and the website builders' menus are from their own help pages on the same date. Both change, so check before you rely on a detail.
How long does each step actually take?
About ten minutes of your attention, plus a few minutes of reading that happens in the background while you do something else. The ten minutes is clicking, choosing and pasting. Reading your website is TailGPT's work, it runs on its own, and you can close the tab while it does.
| Step | Who does it | Roughly how long |
|---|---|---|
| Sign up and confirm your email | You | A minute |
| Add your website and tick its pages | You | Two or three minutes |
| Read the pages you ticked | TailGPT, in the background | A few minutes, longer for a big selection |
| Create the chatbot and style it | You | Two or three minutes |
| Ask it test questions | You | As long as you like |
| Choose a plan, copy the line, paste it into your site | You | Two or three minutes |
The step that most often takes longer than ten minutes is not in TailGPT at all. It is finding the box in your website builder where code goes. The table further down names it for seven common setups.
What do you need before you start?
You need a website you control and a way to add a script to it. That second part matters more than it sounds. Most builders let you paste code into the footer of every page, but some only allow it on paid plans, and a few hide it behind a setting. If you can already add something like an analytics tag to your site, you can add this.
It also helps to know which pages answer your customers' questions before you begin. Choosing them is a short job of its own, and how to choose which pages your chatbot should read covers it properly. This guide does not repeat it.
How do you create a TailGPT account?
You sign up with your name, email and password, then type the 6-digit code TailGPT emails you. That is the whole form: no company name, no phone number, and no card. If you would rather not choose a password, Continue with Google creates the account already confirmed, and the code step is skipped.
You land straight on your dashboard. An account that has never had a plan starts on the free trial, which lets you add one website, have up to 500 of its pages read, create one chatbot and ask it 20 test questions. It cannot put the chatbot on your website yet. That needs a plan, and you choose one later, once you have seen the answers.
How do you add your website and choose its pages?
On the Websites page you type your website's address and press Add website. Within a few seconds TailGPT lists the pages your site has, taken from the site's own page list (its sitemap), so it is your structure rather than a guess.
A sensible set is ticked for you. Look down the list and adjust it: keep the pages customers ask about, such as pricing, delivery, returns, fees, timings and contact, and untick old campaigns and press releases. If your site is small, everything is ticked and you simply continue.
Add the address your visitors actually use. If your shop lives at a custom domain, add that rather than the builder's own address, because the chatbot's code will only work on the website you added here (more on that below).
What happens while TailGPT reads your website?
TailGPT opens each page you ticked in a real browser, the way a person would, keeps the real content and drops the menu, footer and cookie banner. Many modern websites look empty to simpler tools, which is why it reads them this way. It takes a few minutes, and you can close the tab and come back.
When it finishes, the Websites page shows which pages were read, which failed and why. A failure is worth a glance: a page behind a login, for example, cannot be read, and a chatbot cannot answer from a page it never saw.
If some of what customers ask lives in a PDF price list or a Word document rather than on the site, you can upload those too once you have a plan. That is covered in how to train a chatbot on your PDFs and documents.
How do you create the chatbot itself?
On the Chatbots page you create a chatbot, pick the website it answers from, and give it a role and a look. The website is a dropdown, preselected when you have only one, and it can be changed later.
The choices, in the order you meet them:
- Role. Support (calm and factual), Sales (products and pricing, pointing to the next step), FAQ (short and direct) or Custom (your own instructions). The role changes how the bot talks, never what it is allowed to say. How to set your chatbot's role explains which fits which job.
- Name. What visitors see in the chat header, such as "Ask Northwind".
- Logo. Your own image, shown in the header.
- Colour. Your brand colour, used on the bubble and the header.
- Greeting. The first line a visitor reads, such as "Hi, ask me anything about our courses."
- Corner. Bottom right or bottom left. Pick whichever your site does not already use for something else, such as a cookie notice or a back-to-top button.
A live preview beside the form shows exactly what your visitors will get, so there is no guessing. You can come back and change any of this later, and the change applies without touching your website's code. Every chat window ends with a small "Powered by TailGPT" line, which cannot be removed.
How do you test the chatbot before it goes on your site?
Press Try demo on the chatbot. It opens the finished bot exactly as your visitors will see it, and you can ask it real questions. On the free trial, the box shows how many of your 20 test questions are left.
Spend your test questions on the ones you are tired of answering. A Pune clothing shop might ask: "Do you deliver to Nagpur?", "How long do returns take?", "Is the kurta in the photo available in XL?" A coaching institute might ask about fees, batch timings and whether there is a demo class.
Then ask one question your website does not cover. The right answer is a plain statement that your website does not cover it. That reply is the chatbot working properly: TailGPT answers only from your pages and documents, and says so when they do not cover a question rather than guessing.
If a question your site does cover gets a wrong or missing answer, the usual cause is the page selection. Go back to the Websites page, tick the page that answers it, and ask again once it has been read.
What the free trial includes, and what it does not, is set out in Try TailGPT free.
When do you need to choose a plan?
You choose a plan when you go to get the chatbot's code. Before that, the card where the code would be says "Choose a plan to put this chatbot on your website" and links to the plans. After paying you come straight back to the same page, and the code is there.
As of 4 October 2026, Starter is ₹4,000 a month for one website, 1,000 pages read, one chatbot and 4,000 questions a month, and Growth is ₹8,000 a month for three websites, 7,500 pages, three chatbots and 10,000 questions. Enterprise is custom. Plans are billed monthly and paid by card. The full table is on the pricing page.
Where does the line of code go?
The code is one line, pasted just before the closing </body> tag of your site. It looks like this, with your own key in place of the dots:
<script src="https://…/widget.js" data-key="…"></script>
Press Copy on the chatbot's page rather than typing it out. There is nothing to install and no TailGPT plugin. The line loads the chat bubble, and everything about the bubble's look is held by TailGPT, which is why changing the colour later does not mean pasting again.
Three things worth knowing about that line:
- Each chatbot has its own line. If you run two chatbots, the line you paste decides which one appears on that page.
- The key only works on your own website. Anyone can see it in your page source, because the browser has to read it. What makes that safe is that TailGPT checks where the request comes from: the website you added, with or without
www, and nothing else. Copied onto another site, it shows no bubble. - A staging site or second address needs asking. If you want the bubble on a test domain too, ask TailGPT to add it. There is no screen for this yet.
Where is the footer code box on WordPress, Shopify, Wix and other builders?
Every common builder has a place for code that runs on every page, though several restrict it to paid plans. These are the menu paths from each platform's own help pages, as of 4 October 2026.
| Platform | Where the line goes | Plan restriction |
|---|---|---|
| WordPress (self-hosted) | Your theme's footer, which WordPress outputs through its wp_footer hook, or a general header-and-footer code plugin | None |
| WordPress.com | Custom code, which WordPress.com's support page says works "on sites with a plugin-enabled plan and activated hosting features" | A plugin-enabled plan |
| Shopify | Online Store → Themes → ⋯ → Edit code → theme.liquid in the layout folder, before </body>. Shopify's help page suggests duplicating the theme first | None stated |
| Wix | Settings → Custom Code → + Add Custom Code → Body – end, all pages (Wix help) | The site must be published with a connected domain, which needs a Premium plan |
| Squarespace | Pages panel → Custom Code → Code Injection → Footer, which Squarespace's help page says is "injected before the closing </body> tag on every page" | Core, Plus, Advanced and some legacy plans |
| Webflow | Site settings → Custom code → Footer code, then publish (Webflow help) | A paid Workspace or an active Site plan |
| Framer | Project Settings → Custom Code → end of body, all pages (Framer help) | None stated in Framer's help article |
| Plain HTML | Paste it above </body> in each page's file, or in the shared footer template if your site has one | None |
On a theme-based site, keep the edit somewhere a theme update will not overwrite, such as a child theme or the builder's own code box rather than a theme file. After pasting, save and publish. Several builders do not put code live until you publish the site again.
How do you know the chatbot is working?
Open your website in a browser, look for the bubble in the corner you chose, and ask it a question. Then check the Chatbots page in your dashboard, where each chatbot shows one of four states:
- Waiting for a website: no website read yet.
- Needs setup: the role, name or colour has not been chosen.
- Ready: set up, but the code is not on your site yet.
- Live: TailGPT has seen the bubble loading on your website.
Live is not a guess. It changes when the bubble actually loads on your own site, so it is the one place you can confirm the install without asking a friend to check.
If you see no bubble, work down this list:
- Is the change published? Saved is not always live, especially on Wix, Webflow and Framer.
- Is it the right website? The key works only on the address you added, with or without
www. A preview address or staging copy shows nothing. - Is the plan live? The bubble appears only while the account has a live plan, and it goes quiet when the month's questions run out, until the month resets, you upgrade or you buy a top-up.
- Is a cached copy being served? If your site uses a caching plugin or service, clear it so visitors get the new page.
What should you do in the first week?
Read what people asked. Show chats on the Chatbots page lists every conversation the chatbot has had, as chat bubbles, with search and a 7, 30 or 90-day filter. The dashboard also lists the questions your pages could not answer, with how often each was asked. A cluster of those on one subject usually means a page is missing or not ticked.
When you change a page, have the site read again. Re-reading is on demand from a monthly allowance (two a month on Starter as of 4 October 2026), and there is no automatic refresh, so a new returns policy reaches the chatbot only after you press Re-crawl. Uploaded documents are not touched by a re-read.
For the full journey, including what happens when a plan ends, see how TailGPT works.